How I Edit My Instagram Photos
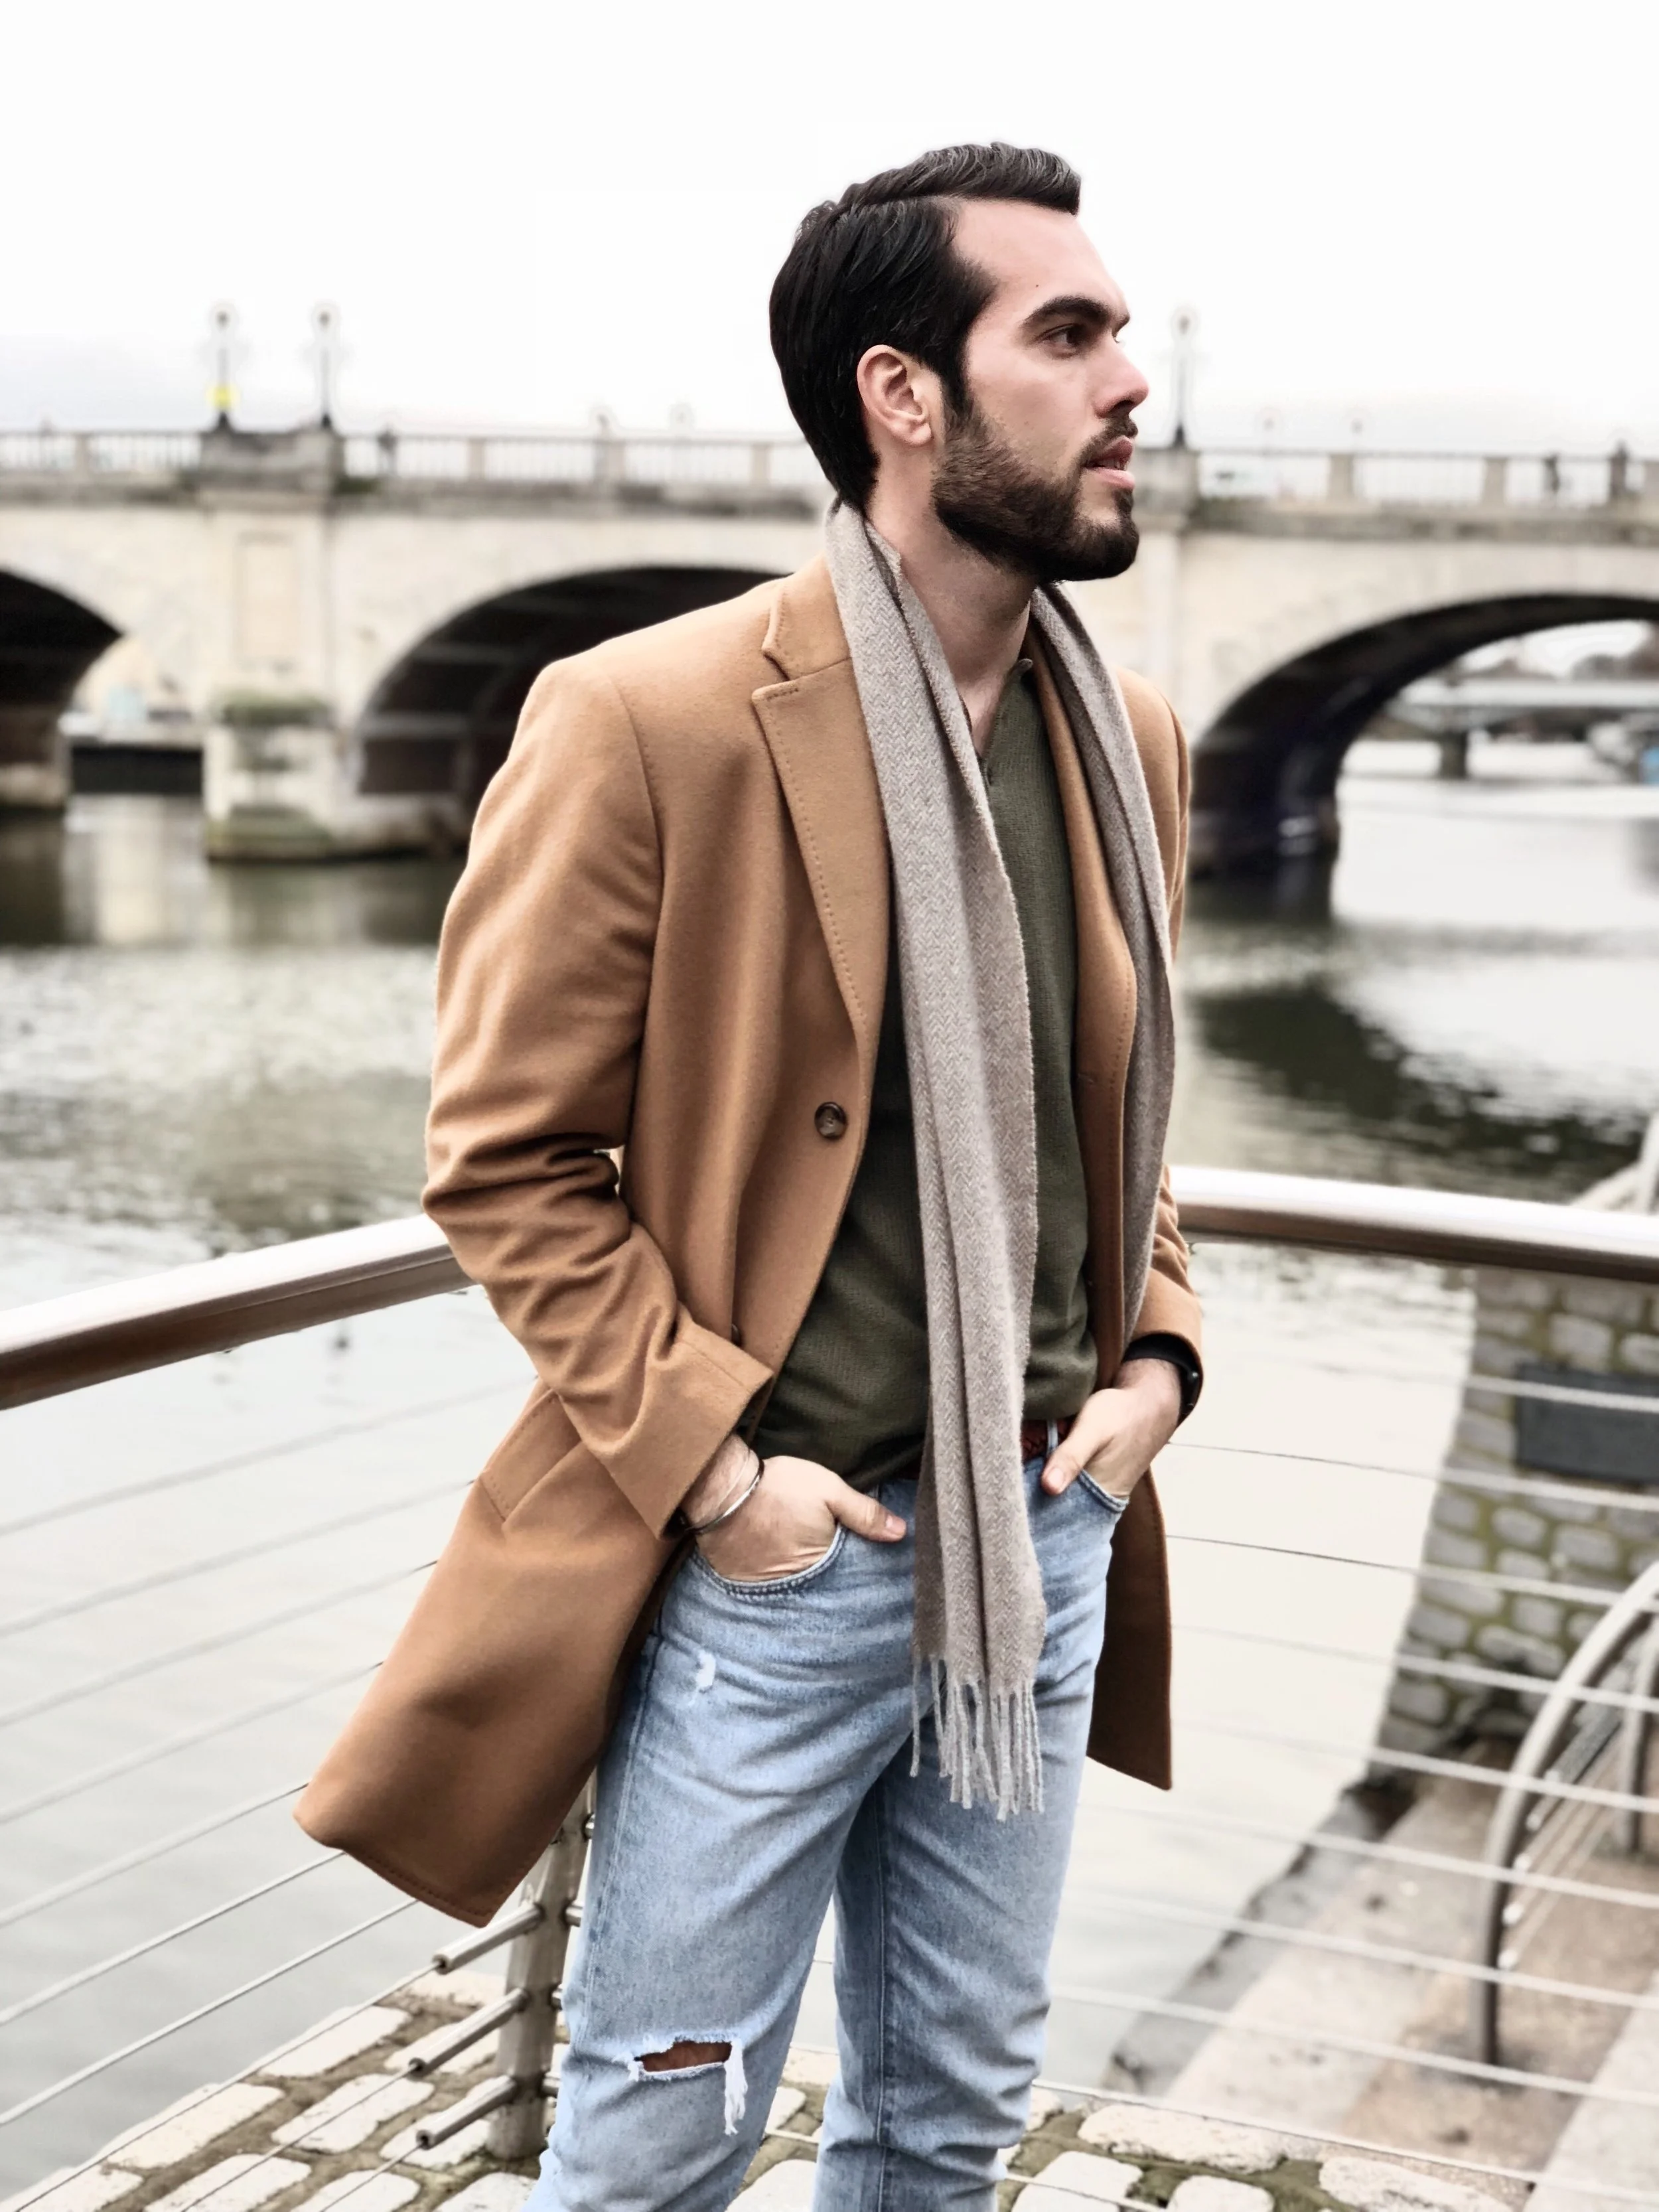
Coat: Massimo Dutti / Jeans: Zara / Cashmere scarf: Hackett Lodnon
Oh Instagram. With your odd algorithm where you don’t actually see any of the posts you want too and your Snapchat-esque Stories function, you’re not exactly flavour of the month with most people right now, but I can’t help but still love this photo sharing gem. Now I’ve never been one for a ‘theme‘ in the Instagram department per se, but a month or so ago I decided that my Instagram needed a bit of a refresh and a tidy. The only theme that I now follow is that I like the pictures I post to be taken on my proper camera, because photos taken on my iPhone seem to look like they’ve been shot on a potato these days (maybe the lens just needs a good clean?). However there are a few apps that I’ve been using to edit pictures that I haven’t mentioned before, so I thought I’d share incase your Instagram is giving you potato-vibes too.
VSCO. I’ve been using this bad boy for years. It’s got it all from filters to the ability to add warmth, coolness, brightness, contrast – it’s like the swiss army knife of photo editing on your phone. Personally I don’t use any of the Instagram editing tools and just use this instead. I love a bit of the F2 filter with a touch of coolness added, down two notches on contrast and up four notches on sharpness. DONE. Well, not exactly…
Facetune. Hear me out on this one. I don’t use this app for photoshopping aspects of my face and body (although it does make for some good entertainment to see what I’d actually look like with a jawline, smooth skin and cheekbones). However the whiten tool on this that most people use on their teeth is great for getting rid of any areas of yellowness or grey in photos that you want to look bight white. It’s a lengthy process mind you and is made much easier by having some sort of smartphone pen.
Snapseed. My sister introduced me to this and I feel like it’s made such a difference to my photos. There a tonne of functions on here, but it’s the brush tool that I love and I use it to spot overexpose and under-epoxse certain areas in a photo. Take the before and after picture above. I popped it through VSCO using my usual mix of filter, coolness, contrast and sharpening and then I edited it in Snapseed, increasing the exposure of the whole photo and then taking the exposure back down over the products to make sure that they showed up clearly and true to colour. OMG, I’m eye-rolling at myself right now – what an effort, eh?
Mosaico. This is a great app for creators who like to plan. I first heard about it from my friend Nikos and although it cost around a fiver to download, for me it’s money well spent as I can add pictures into my ‘grid’ to see what they look like when they’ll be uploaded and even write the captions so they’re all ready to go which hopefully saves me from some embarrassing typos.

Jacket: Tommy Hilfiger / Jeans: Pepe jeans / Scarf: Hackett London / Knitwear: Massimo Dutti

Jean Jacket: Maison Margiela / Jean: Zara / Knitwear: Massimo Dutti / Hat: Vintage

Jean Jacket: Maison Margiela / Jean: Zara / Knitwear: Massimo Dutti / Hat: Vintage / Shoes: River Island